Unity is a game engine that can be used to create 2D or 3D games for Android devices. This tutorial provides step by step how to build a Unity game for Android device.
- Download the Unity Hub and install it.
- Open the Unity Hub.
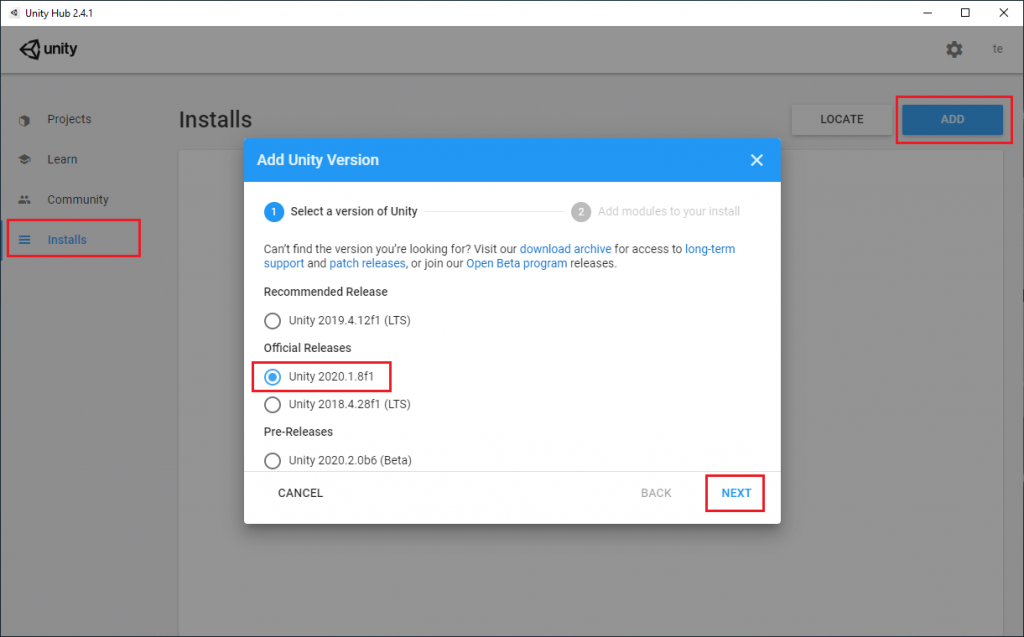
- Select the "Installs" tab and click "Add" button.
- Choose the latest official Unity release and click "NEXT" button.
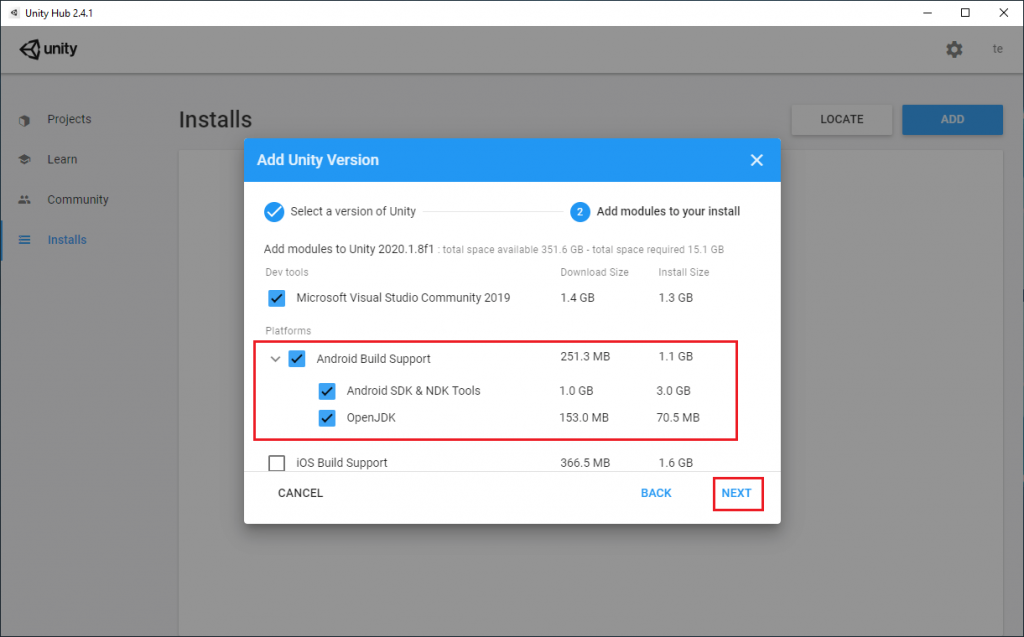
- In the next panel select the "Android Build Support" module. Make sure that "Android SDK & NDK Tools" and "OpenJDK" are selected. Click "NEXT" button.
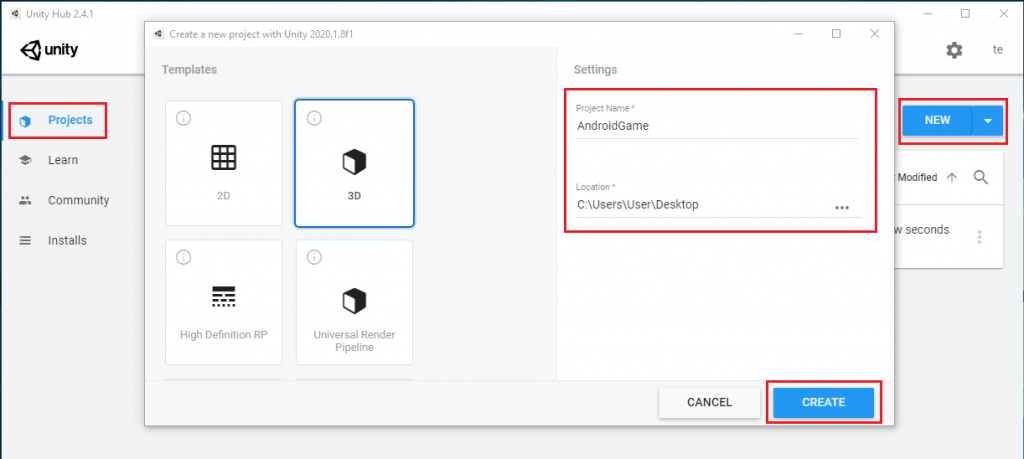
- After the installation was completed select the "Projects" tab and click "New" button to start a new Unity project.
- Select 2D or 3D template. Specify the project name and location. Click "CREATE" button.
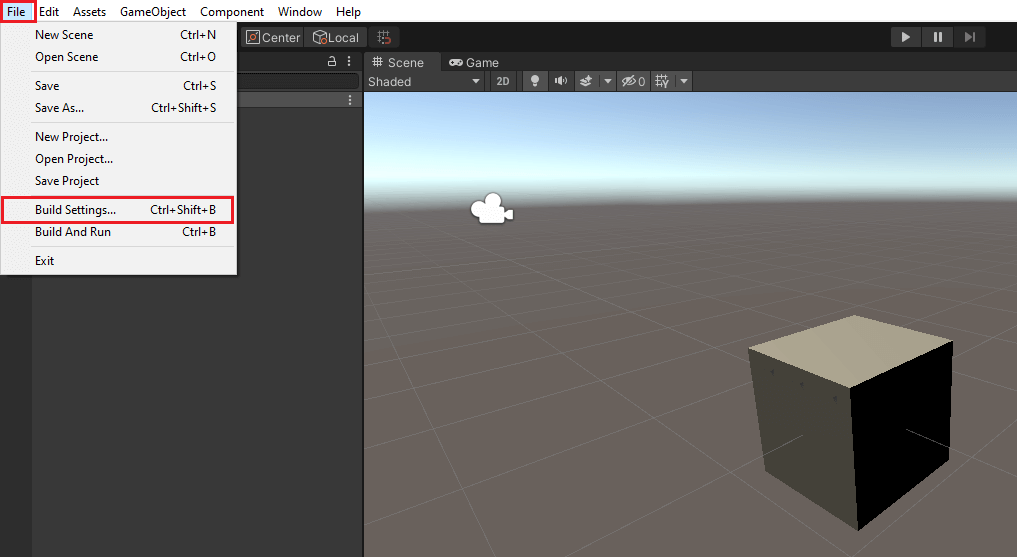
- Create your game. Note: for demonstration we added a Cube object in the scene.
- From the top menu click "File" and choose "Build Settings".
- Select the "Android" platform from the list and click "Switch Platform" at the bottom of the window.
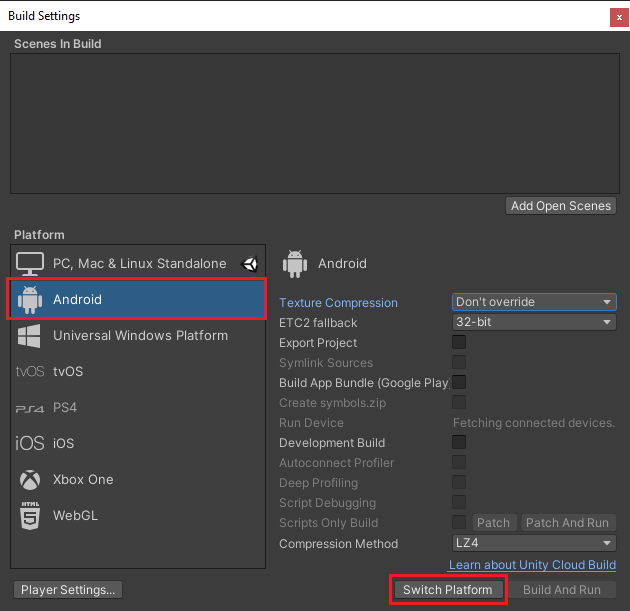
- With a USB cable, connect your Android device to your computer. Make sure that USB debugging is enabled on the device.
- In the build settings panel click "Build And Run". You'll be asked to choose where to build APK file.
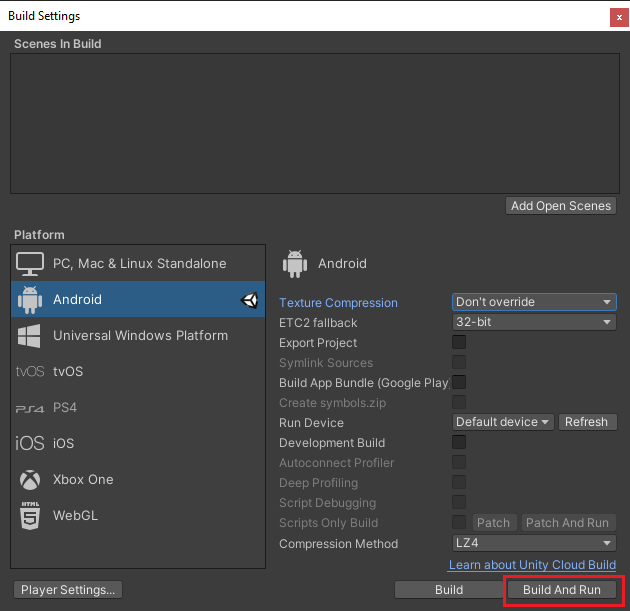
- Unity will build APK file and installs it on the device.
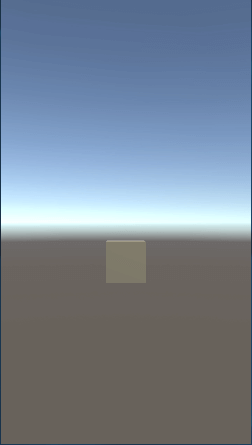
Note: When building APK you may be asked to update Android SDK. You can get the following error:
Unable to update the SDK. Please run the SDK Manager manually to make sure you have the latest set of tools and the required platforms installed. See console log for details.
This issue can be fixed by running the SDK Manager manually:
- Create an empty
repositories.cfgfile in.androidfolder (e.g.C:\Users\User\.android). - Open the command prompt and locate to
sdkmanager.batinstallation folder:
cd "C:\Program Files\Unity\Hub\Editor\2020.1.8f1\Editor\Data\PlaybackEngines\AndroidPlayer\SDK\tools\bin"- Run run the
sdkmanager.batto install required Android SDK tools and platforms:
sdkmanager.bat "platforms;android-26"- Press
yand accept the license.

Leave a Comment
Cancel reply