
Onefetch is a command line tool for displaying Git repository summary such as project name, version, authors, license, programming languages that are used to create the project, and more.
This tutorial demonstrates how to install Onefetch on Ubuntu 24.04.
Prepare environment
Make sure you have installed Git in your system. You can read post how to install it.
Install Onefetch
Execute the following command to download tar.gz file from releases page of the Onefetch repository:
sudo wget -qO onefetch.tar.gz https://github.com/o2sh/onefetch/releases/latest/download/onefetch-linux.tar.gzExtract a tar.gz file to /usr/local/bin directory.
sudo tar xf onefetch.tar.gz -C /usr/local/binNow onefetch command will be available for all users.
We can check Onefetch version with command:
onefetch --versionRemove tar.gz file because no longer needed it:
rm -rf onefetch.tar.gzTesting Onefetch
For testing purpose, clone the Onefetch repository:
git clone https://github.com/o2sh/onefetch.git onefetch-srcNow execute onefetch command and provide path of the repository:
onefetch onefetch-srcYou will get information about repository.
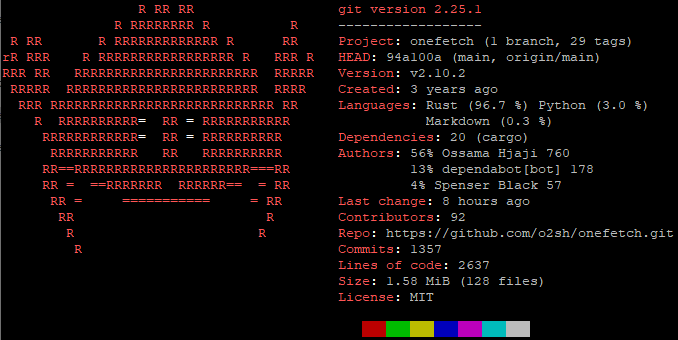
You can also output information in JSON format using the -o option.
onefetch -o json onefetch-srcPart of the output:
{
  "repoName": "onefetch",
  "numberOfTags": 29,
  "numberOfBranches": 1,
  .............
  "filesCount": 128,
  "license": "MIT"
}
Uninstall Onefetch
If you decided to remove Onefetch, just delete executable file:
sudo rm -rf /usr/local/bin/onefetch


Leave a Comment
Cancel reply