Adminer is an open-source database management tool through a web browser. It supports MySQL, MariaDB, SQLite, PostgreSQL, and various other database servers. This tool allows to create, drop, alter databases, tables, columns and other objects, import and export data, execute SQL queries, and perform other database management tasks. Adminer consist of a single file and it is written using PHP programming language.
This tutorial demonstrates how to install Adminer on Raspberry Pi.
Prepare environment
Before starting, make sure you have installed Apache HTTP server and PHP. For testing, we also need database server such as MariaDB.
Install Adminer
Create a new directory:
sudo mkdir /usr/share/adminerDownload the latest version of Adminer from official website and place a file in a previously created directory:
sudo wget -O /usr/share/adminer/index.php http://www.adminer.org/latest-en.phpCreate Apache configuration file for Adminer:
sudo nano /etc/apache2/conf-available/adminer.confAdd the following content to a file:
/etc/apache2/conf-available/adminer.conf
Alias /adminer /usr/share/adminer

<Directory /usr/share/adminer>
    Options Indexes FollowSymLinks
    AllowOverride None
    Require all granted
</Directory>
Execute the following command to enable Adminer site:
sudo a2enconf adminer.confRestart Apache service:
sudo service apache2 restartTesting Adminer
For testing, we need to get IP address the Raspberry Pi:
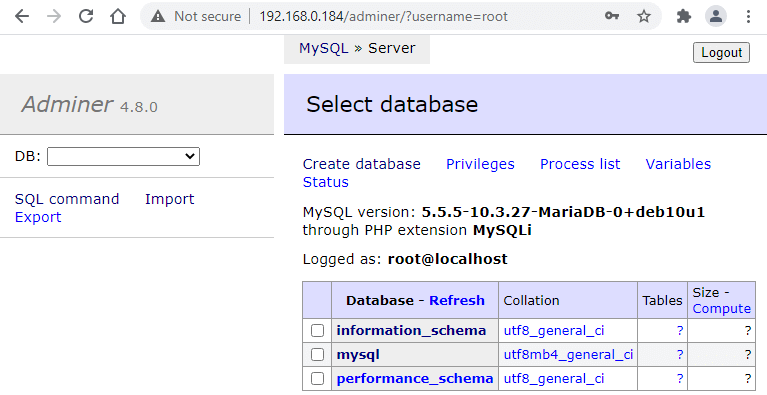
hostname -IOpen http://<IP_ADDRESS>/adminer URL through a web browser. The <IP_ADDRESS> is IP address of Raspberry Pi. Select database server, provide username and password to login. If you're using MariaDB, choose MySQL as database server.

Uninstall Adminer
Remove directory where Adminer file is stored:
sudo rm -rf /usr/share/adminerDisable Adminer site and remove Apache configuration file:
sudo a2disconf adminer.conf
sudo rm -rf /etc/apache2/conf-available/adminer.conf
sudo rm -rf /var/lib/apache2/conf/disabled_by_admin/adminer
Run the following command to restart Apache service:
sudo service apache2 restart


Leave a Comment
Cancel reply