Helix is a text editor for creating and modifying text files via command line. It supports multiple selections, syntax highlighting, key mappings and more. This tutorial explains how to install Helix text editor on Ubuntu 24.04.
Install Helix
Get the latest Helix release version tag from GitHub and save it to a variable:
HELIX_VERSION=$(curl -s "https://api.github.com/repos/helix-editor/helix/releases/latest" | grep -Po '"tag_name": "\K[0-9.]+')Download the tar.xz file from releases page of the Helix repository:
wget -qO helix.tar.xz https://github.com/helix-editor/helix/releases/latest/download/helix-$HELIX_VERSION-x86_64-linux.tar.xzCreate a new directory to store Helix and extract the tar.xz file to it:
sudo mkdir /opt/helixsudo tar xf helix.tar.xz --strip-components=1 -C /opt/helixWe can create a symbolic link to the Helix command in the /usr/local/bin directory:
sudo ln -s /opt/helix/hx /usr/local/bin/hxWe can verify the Helix version using the command:
hx --versionRemove no longer needed file:
rm -rf helix.tar.xzTesting Helix
Run the hx command with the filename as an argument to create a new file or edit an existing one:
hx test.txtExecute the command as a superuser if you lack the necessary permissions.
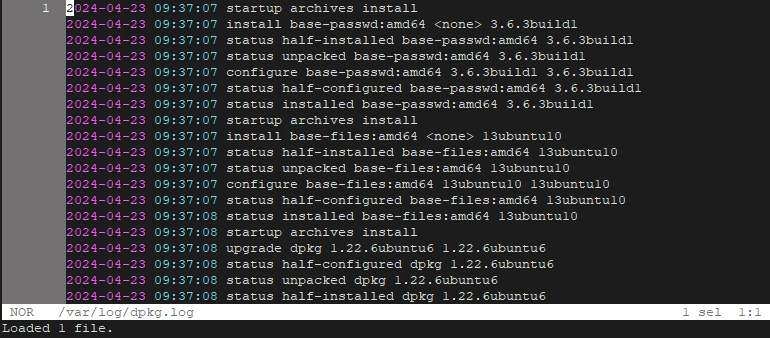
sudo hx /var/log/dpkg.logHelix editing is inspired by Neovim text editor. You can activate command mode by pressing ESC. To save and exit Helix, use the :wq command and press Enter. Use :q! to exit without saving.

Uninstall Helix
To completely remove Helix, delete the installation directory:
sudo rm -rf /opt/helixRemove symbolic link:
sudo rm -rf /usr/local/bin/hx


Leave a Comment
Cancel reply