RPi-Monitor is a monitoring tool that designed to run on Raspberry Pi. Actually RPi-Monitor can run on many Linux systems that has installed Perl interpreter. RPi-Monitor consists of two parts: daemon and web application. A daemon is a service that runs in the background on the system and collects metrics, such as uptime, CPU load and temperature, memory and storage usage, etc. A web application presents metrics to the user through a web browser.
This tutorial shows how to install RPi-Monitor on Raspberry Pi.
Use SSH to connect to Raspberry Pi. Get a public key from a keyserver and add it to the list of trusted keys. Then add repository and update the package lists.
sudo apt-key adv --keyserver keyserver.ubuntu.com --recv-key 2C0D3C0F
sudo wget http://goo.gl/vewCLL -O /etc/apt/sources.list.d/rpimonitor.list
sudo apt update
Install RPi-Monitor with command:
sudo apt install -y rpimonitorAfter the installation has finished, we can check RPi-Monitor version:
rpimonitord -VWe can use the following command to check whether RPi-Monitor service is running:
sudo service rpimonitor statusWe can stop, start and restart the RPi-Monitor service by using these commands:
sudo service rpimonitor stop
sudo service rpimonitor start
sudo service rpimonitor restart
For testing we need IP address of the Raspberry Pi. It can be determined with command:
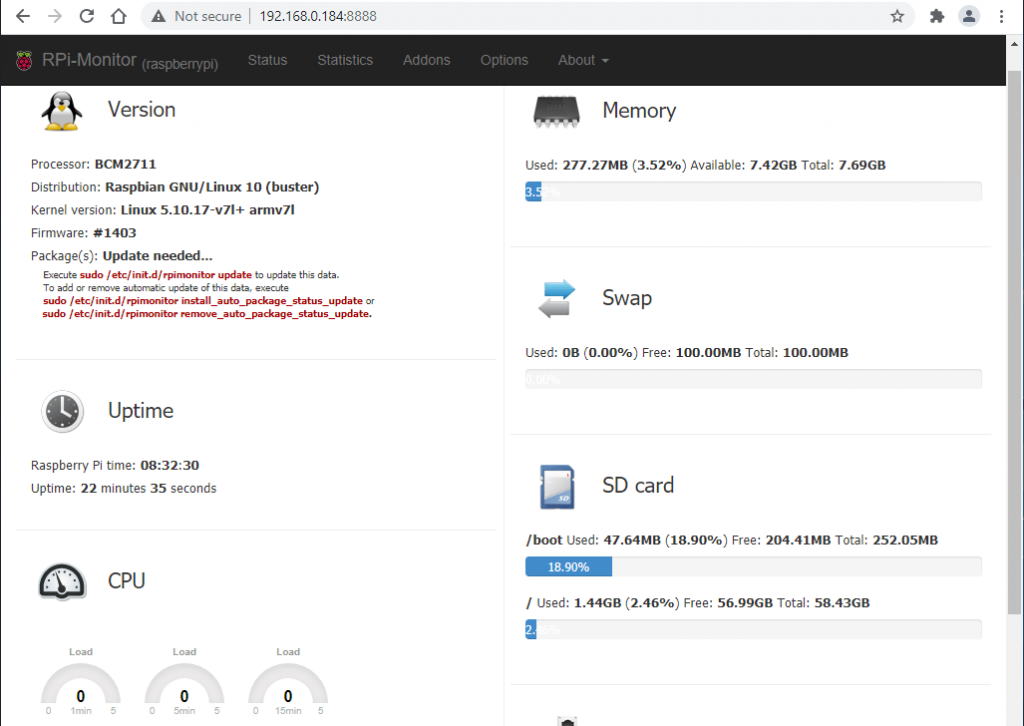
hostname -INow open a browser and access a web application which available on address http://<IP_ADDRESS>:8888, where <IP_ADDRESS> is IP address of Raspberry Pi.

If you want to completely remove RPi-Monitor and related dependencies, run the following command:
sudo apt purge --autoremove -y rpimonitorYou can also remove the metrics data, logs, and repository:
sudo rm -rf /var/lib/rpimonitor
sudo rm -rf /var/log/rpimonitor.log*
sudo rm -rf /etc/apt/sources.list.d/rpimonitor.list


Leave a Comment
Cancel reply