WatchYourLAN is an open-source web application designed to monitor the devices connected to the local area network (LAN). It functions as a network IP scanner that provides real-time visibility into all the devices on the network, helping to identify any unauthorized or unfamiliar devices.
This tutorial explains how to install WatchYourLAN inside a Docker container on Linux. Commands have been tested on Ubuntu.
Prepare environment
Make sure you have installed Docker in your system. If you are using Ubuntu, installation instructions can be found in the post.
Install WatchYourLAN
Run the following command to create a container for WatchYourLAN that uses host network:
docker run -d --name=watchyourlan --restart=always --network=host \
    -v /opt/watchyourlan/data:/data/WatchYourLAN \
    -e IFACES="ens33" \
    -e TZ="America/New_York" \
aceberg/watchyourlan:v2- The
TZvariable sets the time zone for displaying date and time on the web UI. - The
IFACESvariable specifies the network interface(s) that will be monitored. It supports multiple interfaces, with each name separated by a space.
To get available network interfaces, run the following command:
ip link showNote: WatchYourLAN works only for host network.
Testing WatchYourLAN
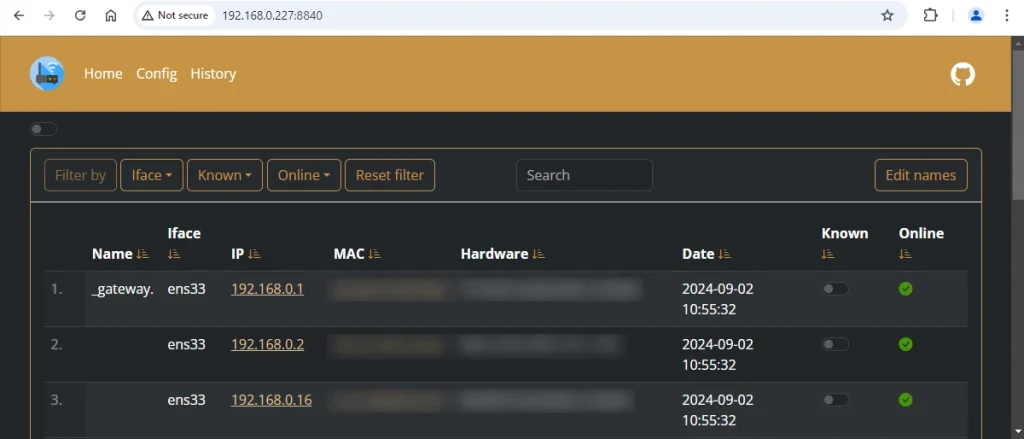
To access a web application, go to http://<IP_ADDRESS>:8840, where <IP_ADDRESS> is the IP address of the system.

Uninstall WatchYourLAN
To completely remove WatchYourLAN, remove its container:
docker rm --force watchyourlanRemove WatchYourLAN image:
docker rmi aceberg/watchyourlan:v2You can also remove WatchYourLAN data:
sudo rm -rf /opt/watchyourlan


Leave a Comment
Cancel reply