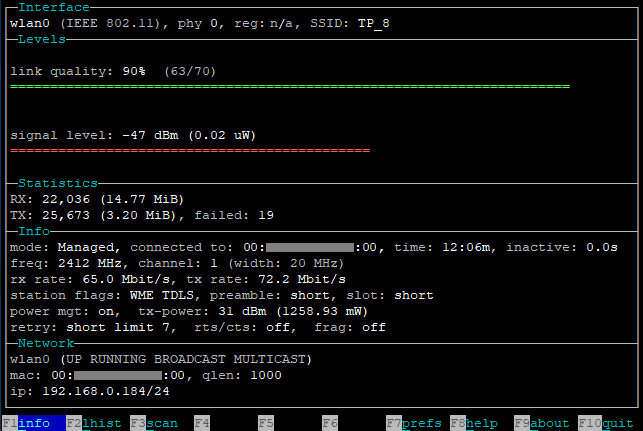
The wavemon is a command line tool that allows to monitor a wireless network devices. This tool enables to view wireless signal strength and noise levels, packet statistics, information related with wireless device configuration and network parameters.
This tutorial explains how to install wavemon on Raspberry Pi.
Use SSH to connect to Raspberry Pi. Make sure the package lists are up-to-date:
sudo apt updateInstall wavemon by running the following command:
sudo apt install -y wavemonWe can check version of wavemon:
wavemon -vRun wavemon command without any arguments to monitor autodetected network interface:
wavemonExecute the following command to get a list of all available network interfaces:
ip addr showWe can specify network interface that want to monitor by using -i option:
wavemon -i wlan0
Type the letter q to quit wavemon.
If wavemon is no longer needed, you can completely remove the wavemon and related dependencies with command:
sudo apt purge --autoremove -y wavemon


The 1 Comment Found
I just installed wavemon on my Raspberry Pi nano W.
Using PuTTY on Windows the interface of wavemon looked wierd. The frame lines were swapped with q and w caracters.
To fix this I had to go into settings on PuTTY.
Window -> Translasion. Checked "Enable VT100 line drawing even in UTF-8 mode"
Leave a Comment
Cancel reply