
Apache HTTP Server is a cross-platform web server which serves web content to clients who request it. Apache is an open-source project which released under the Apache License 2.0.
This tutorial explains how to install Apache 2.4 on Ubuntu 24.04.
Install Apache
Add the Apache repository:
sudo add-apt-repository -y ppa:ondrej/apache2Run the following command to install Apache:
sudo apt install -y apache2When it finished, we can check version of Apache:
apache2 -vYou can use the following command to determine if Apache service is running:
sudo service apache2 statusAlso, you can stop, start and restart the Apache service:
sudo service apache2 stopsudo service apache2 startsudo service apache2 restartTesting Apache
Get the IP address of your machine:
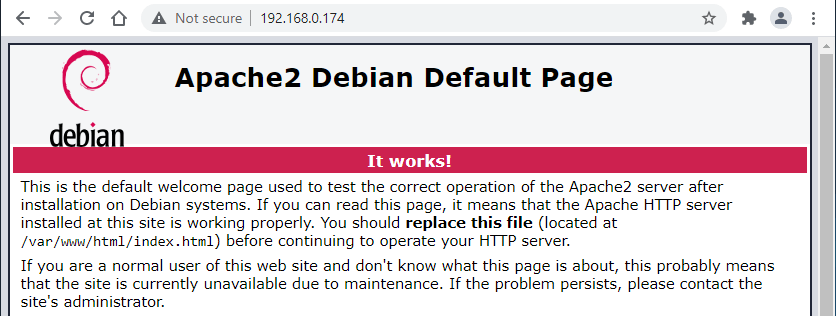
hostname -IOpen a browser and enter IP address. You will see default page of Apache which looks like:
Uninstall Apache
If you wish to completely remove Apache and related dependencies, run the following command:
sudo apt purge --autoremove -y apache2Remove repository:
sudo rm -rf /etc/apt/sources.list.d/ondrej-ubuntu-apache2-noble.sourcesYou can also remove Apache configuration and data:
sudo rm -rf /etc/apache2sudo rm -rf /var/lib/apache2


Leave a Comment
Cancel reply