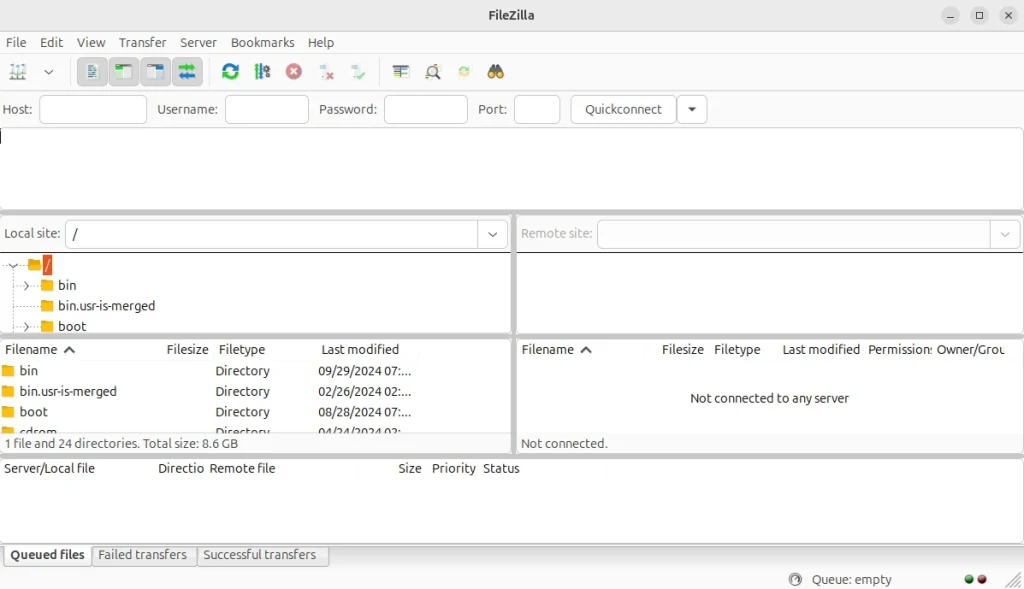
FileZilla Client is an open-source and cross-platform application used to transfer files between a local computer and a remote server over the network. It supports several file transfer protocols, including FTP, FTPS, and SFTP.
This tutorial demonstrates how to install FileZilla Client on Ubuntu 24.04.
Install FileZilla Client
Run the following command to add repository:
sudo add-apt-repository -y ppa:xtradeb/appsInstall FileZilla Client:
sudo apt install -y filezillaTesting FileZilla Client
After the installation is finished, you can start FileZilla Client from the application menu or by entering the following command in the terminal:
filezilla
Uninstall FileZilla Client
If you want to completely remove FileZilla Client and related dependencies, run the following command:
sudo apt purge --autoremove -y filezillaRemove repository:
sudo rm -rf /etc/apt/sources.list.d/xtradeb-ubuntu-apps-noble.sourcesYou can also remove FileZilla Client cache and configuration directory:
rm -rf ~/.cache/filezillarm -rf ~/.config/filezilla


Leave a Comment
Cancel reply