
Portainer is a management tool for Docker, Docker Swarm and Kubernetes. This tool allows to manage containers, images, volumes, networks, and more. Portainer provides dashboard that accessible to the user from a web browser.
This tutorial demonstrates how to install Portainer on Ubuntu 20.04.
Prepare environment
Make sure you have Docker in your system. You can install it by reading this post.
Install Portainer
Portainer Server can be deployed in Docker container. Run the following command to create container for Portainer:
docker run -d --name=portainer --restart=always --network=host \
    -v /var/run/docker.sock:/var/run/docker.sock \
    -v portainer_data:/data \
    portainer/portainer-ce
Pontainer data stored in the portainer_data volume.
Testing Portainer
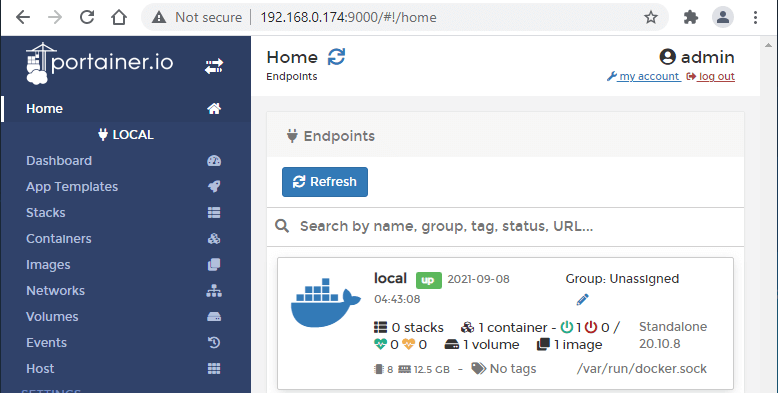
Portainer Server is listening on 9000 port. Open your browser and go to http://<IP_ADDRESS>:9000, where <IP_ADDRESS> is IP address of your machine.
For the first time you will need to create administrator user. Once created, you will need to select environment you want to manage. Select the local Docker environment and click 'Connect' button.
Once connected, you will see dashboard where you can manage your Docker environment.
Uninstall Portainer
If you want to completely uninstall Portainer, remove it's container:
docker rm --force portainerRemove Portainer image:
docker rmi portainer/portainer-ceRemove Portainer volume:
docker volume rm portainer_data


Leave a Comment
Cancel reply