
Solr is a search platform that is based on a Java library called Lucene. Solr is an open-source project available under the Apache License 2.0.
This tutorial explains how to install Solr inside a Docker container in the Linux. Commands have been tested on Ubuntu.
Prepare environment
Make sure you have installed Docker in your system. If you are using Ubuntu, installation instructions can be found in the post.
Install Solr
Create directory for storing Solr data:
sudo mkdir -p /opt/solr/dataSet user, which ID is 8983 as owner for newly created directory:
sudo chown -R 8983:8983 /opt/solrNote: it doesn't matter that user (ID: 8983) doesn't exist on host system. This user will be created in the container.
- Host network
Run the following command to create a container for Solr that uses host network:
docker run -d --name=solr --restart=always --network=host \
    -v /opt/solr/data:/var/solr \
solr- User-defined bridge network
User-defined bridge network can be used for listening on different port. By default, Solr service is listening on port 8983. It can be changed with -p option.
docker network create app-netdocker run -d --name=solr --restart=always --network=app-net \
-p 8080:8983 \
-v /opt/solr/data:/var/solr \
solrTesting Solr
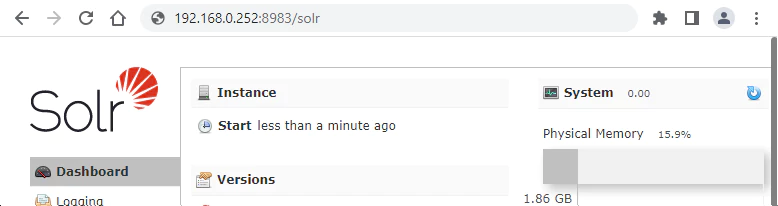
Solr provides admin UI. Open a web browser and go to http://<IP_ADDRESS>:8983, where <IP_ADDRESS> is the IP address of the system.
Uninstall Solr
To completely remove Solr, remove its container:
docker rm --force solrRemove Solr image:
docker rmi solrYou can also remove Solr data:
sudo rm -rf /opt/solrIf a user-defined bridge network was created, you can delete it as follows:
docker network rm app-net


Leave a Comment
Cancel reply