
Keycloak is an identity and access management service. Users can be authenticated with Keycloak instead of individual applications. It means that applications don't need to deal with login forms, users storage, management and authentication.
This tutorial explains how to install Keycloak inside a Docker container in the Linux. Commands have been tested on Ubuntu.
Prepare environment
Make sure you have installed Docker in your system. If you are using Ubuntu, installation instructions can be found in the post.
You also need to have a running PostgreSQL container. Instructions can be found in the post.
Install Keycloak
Before starting, create keycloak database:
docker exec -it postgresql psql -U postgres -c "CREATE DATABASE keycloak"- Host network
Run the following command to create a container for Keycloak that uses host network:
docker run -d --name=keycloak --restart=always --network=host \
    -e KEYCLOAK_ADMIN_USER=admin \
    -e KEYCLOAK_ADMIN_PASSWORD=pwd123 \
    -e KEYCLOAK_DATABASE_USER=postgres \
    -e KEYCLOAK_DATABASE_PASSWORD=pwd123 \
    -e KEYCLOAK_DATABASE_NAME=keycloak \
    -e KEYCLOAK_DATABASE_HOST=127.0.0.1 \
    bitnami/keycloak
PostgreSQL container should run on host network as well.
- User-defined bridge network
User-defined bridge network can be used for listening on different port. By default, Keycloak service is listening on port 8080. It can be changed with -p option.
docker network create app-netdocker run -d --name=keycloak --restart=always --network=app-net \
-p 8081:8080 \
-e KEYCLOAK_ADMIN_USER=admin \
-e KEYCLOAK_ADMIN_PASSWORD=pwd123 \
-e KEYCLOAK_DATABASE_USER=postgres \
-e KEYCLOAK_DATABASE_PASSWORD=pwd123 \
-e KEYCLOAK_DATABASE_NAME=keycloak \
-e KEYCLOAK_DATABASE_HOST=postgresql \
bitnami/keycloakPostgreSQL container should run on the same user-defined bridge network as well.
Notes:
- It might take a while before initialization is finished and the Docker container starts to respond to requests.
- Don't forget to change
adminpassword for Keycloak usingKEYCLOAK_ADMIN_PASSWORD. - The
KEYCLOAK_DATABASE_USERandKEYCLOAK_DATABASE_PASSWORDcan be used to specify PostgreSQL credentials. - When user-defined bridge network is used, don't forget to change
KEYCLOAK_DATABASE_HOST. It contains PostgreSQL container name.
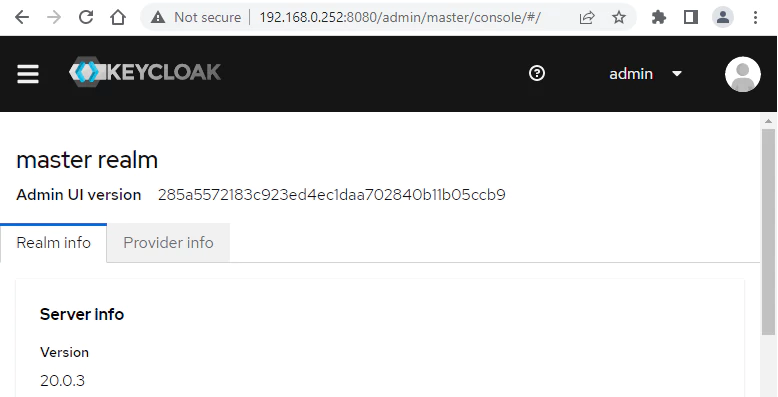
Testing Keycloak
Open a web browser and go to http://<IP_ADDRESS>:8080, where <IP_ADDRESS> is the IP address of the system. Log in to the dashboard with the admin username and password.
Uninstall Keycloak
To completely remove Keycloak, remove its container:
docker rm --force keycloakRemove Keycloak image:
docker rmi bitnami/keycloakIf a user-defined bridge network was created, you can delete it as follows:
docker network rm app-net


The 2 Comments Found
Thanks for the great tutorial.
Question: After starting the Keycloak container, on inspection, it gives warning about the being run in "Development mode" and not run this in a "Production environment".
What needs to be changed so it becomes "Production" ready? By the way, it's being proxied with ssl.
Thanks for further insights.
For production environment, when starting the Keycloak container, you need to set
KEYCLOAK_PRODUCTIONenvironment variable totrue. Also, you need to enable HTTPS and configure SSL/TLS certificates.Leave a Comment
Cancel reply