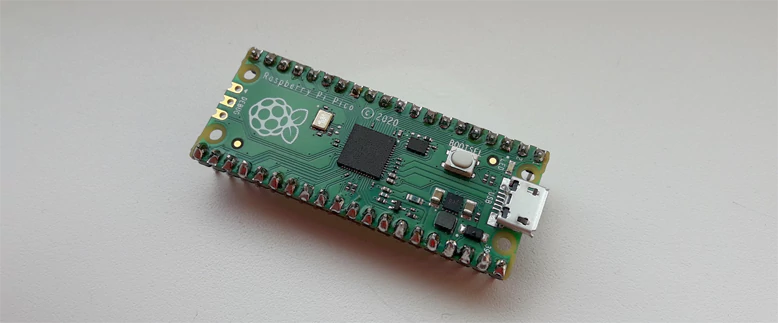
Execution time of a code is amount of time spent by the system executing that code. Execution time is important when want to optimize a code. This tutorial shows how to measure execution time of a code using Raspberry Pi Pico.
Code
The function clock defined in the time.h header returns the number of clock ticks elapsed since the program was started. CPU clock ticks can be converted to seconds by dividing value by CLOCKS_PER_SEC constant. However, the clock function is not implemented in the Raspberry Pi Pico SDK. The clock function can be implemented by using time_us_64 function provided in the SDK. It returns the current 64-bit timestamp value in microseconds.
Execution time is difference between the end time and start time. To measure execution time of a code, subtract the start time from the end time.
project/main.c
#include <time.h>
#include <stdio.h>
#include <pico/stdlib.h>

clock_t clock()
{
    return (clock_t) time_us_64() / 10000;
}

void doSomething(int seconds)
{
    sleep_ms(seconds * 1000);
}

int main()
{
    stdio_init_all();

    while (true) {
        clock_t startTime = clock();
        doSomething(1);
        clock_t endTime = clock();

        double executionTime = (double)(endTime - startTime) / CLOCKS_PER_SEC;
        printf("%.8f sec\n", executionTime);
    }
}
project/CMakeLists.txt
cmake_minimum_required(VERSION 3.13)

include($ENV{PICO_SDK_PATH}/external/pico_sdk_import.cmake)

project(myapp C CXX ASM)

set(CMAKE_C_STANDARD 11)
set(CMAKE_CXX_STANDARD 17)

pico_sdk_init()

add_executable(${PROJECT_NAME} main.c)

pico_add_extra_outputs(${PROJECT_NAME})

target_link_libraries(${PROJECT_NAME} pico_stdlib)

pico_enable_stdio_usb(${PROJECT_NAME} 1)
pico_enable_stdio_uart(${PROJECT_NAME} 0)
Testing
Project was built and binary file myapp.uf2 was moved to the mounted drive RPI-RP2. To see results, we use the Serial Monitor tool in the Arduino IDE. A program prints 1.00000000 sec as expected.


Leave a Comment
Cancel reply