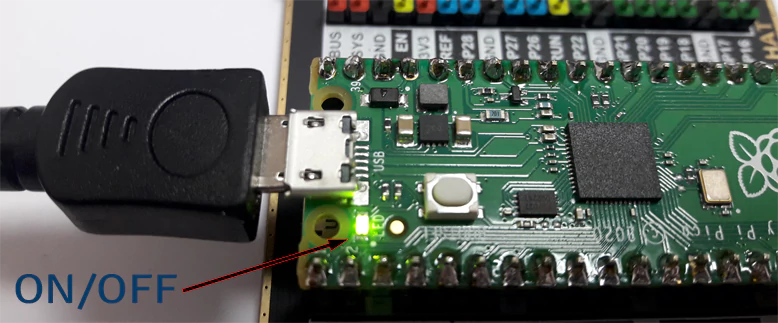
Raspberry Pi Pico has onboard green LED which can be controlled via USB by sending commands from PC.
This tutorial shows example how to turn ON/OFF the onboard LED on Raspberry Pi Pico via USB.
Code
We initialize the pin 15 and configure it as output. The stdio_init_all function initializes standard I/O.
We created readBytes function to read bytes until a new line character is received. Bytes are placed into an array. Character array should to be a null-terminated in order to compare it with another array using strcmp function. Null character ('\0') is added to indicate the end of the array. LED is turned ON or OFF by commands on and off.
project/main.c
#include <string.h>
#include <pico/stdlib.h>

bool isEqual(const char *cmd, const char *buffer)
{
    return strcmp(buffer, cmd) == 0;
}

int readBytes(char *buffer, int length)
{
    int index = 0;
    while (index < length) {
        int c = getchar_timeout_us(100);
        if (c < 0 || c == '\n') {
            break;
        }

        buffer[index++] = (char) c;
    }

    return index;
}

int main()
{
    const uint LED_PIN = PICO_DEFAULT_LED_PIN;

    gpio_init(LED_PIN);
    gpio_set_dir(LED_PIN, GPIO_OUT);

    stdio_init_all();

    char buffer[10];
    while (true) {
        int length = readBytes(buffer, sizeof(buffer));
        buffer[length] = '\0';

        if (isEqual("on", buffer)) {
            gpio_put(LED_PIN, 1);
        } else if (isEqual("off", buffer)) {
            gpio_put(LED_PIN, 0);
        }
    }
}
In the CMakeLists.txt file enable the standard I/O to work via USB CDC (USB serial). Disable the standard I/O to work via UART.
project/CMakeLists.txt
cmake_minimum_required(VERSION 3.13)

include($ENV{PICO_SDK_PATH}/external/pico_sdk_import.cmake)

project(myapp C CXX ASM)

set(CMAKE_C_STANDARD 11)
set(CMAKE_CXX_STANDARD 17)

pico_sdk_init()

add_executable(${PROJECT_NAME} main.c)

pico_add_extra_outputs(${PROJECT_NAME})

target_link_libraries(${PROJECT_NAME} pico_stdlib)

pico_enable_stdio_usb(${PROJECT_NAME} 1)
pico_enable_stdio_uart(${PROJECT_NAME} 0)
Testing
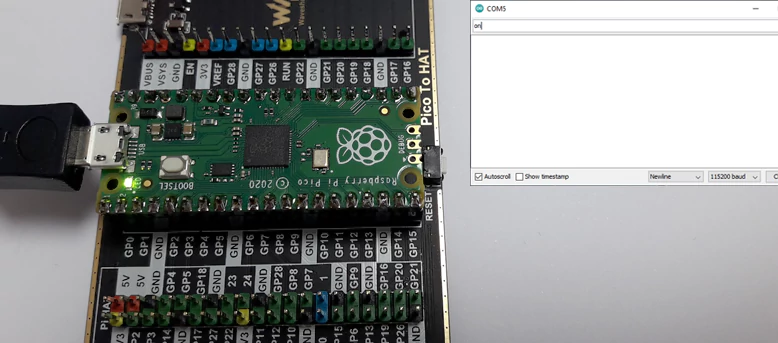
Project was built and binary file myapp.uf2 was moved to the mounted drive RPI-RP2. We opened the Serial Monitor which available in Arduino IDE. We set line-ending to "Newline" and selected 115200 baud rate. LED is turned ON/OFF by sending command on or off.


Leave a Comment
Cancel reply