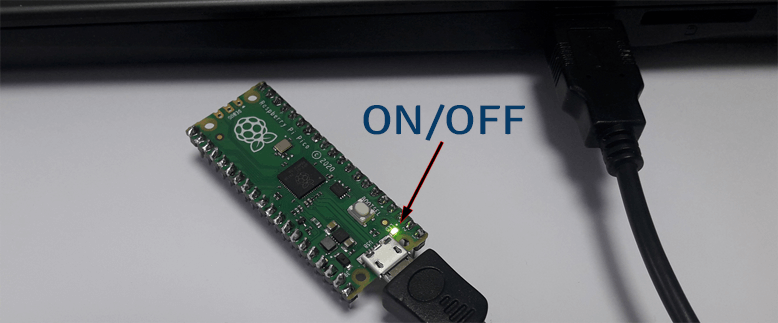
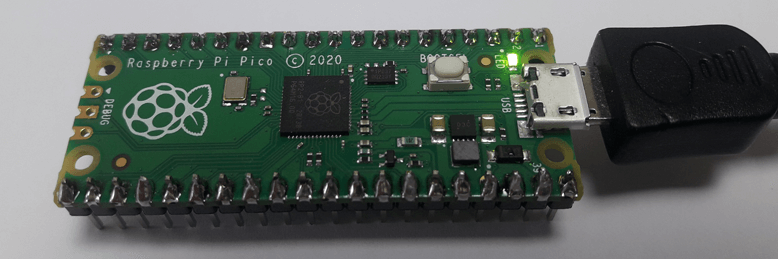
Raspberry Pi Pico has onboard green LED which is internally connected to pin 25 (GP25) of the RP2040 chip.
This tutorial shows example how to blink the onboard LED on the Raspberry Pi Pico.
Prepare environment
Before starting, make sure you have installed Raspberry Pi Pico SDK in your system. If you are using Ubuntu, you can read installation instructions in the post.
Code
Create project directory and navigate to it:
mkdir project && cd projectCreate a main.c file.
We created a constant and assigned to it macro PICO_DEFAULT_LED_PIN which equals to 25. The gpio_init function initializes a GPIO for specified pin which configured as output with gpio_set_dir function. In the infinite while loop, onboard LED is turned on and off with gpio_put function at a rate of 250 milliseconds.
project/main.c
#include <pico/stdlib.h>

int main()
{
    const uint LED_PIN = PICO_DEFAULT_LED_PIN;

    gpio_init(LED_PIN);
    gpio_set_dir(LED_PIN, GPIO_OUT);

    while (true) {
        gpio_put(LED_PIN, 1);
        sleep_ms(250);
        gpio_put(LED_PIN, 0);
        sleep_ms(250);
    }
}
Create a CMakeLists.txt file:
project/CMakeLists.txt
cmake_minimum_required(VERSION 3.13)

include($ENV{PICO_SDK_PATH}/external/pico_sdk_import.cmake)

project(myapp C CXX ASM)

set(CMAKE_C_STANDARD 11)
set(CMAKE_CXX_STANDARD 17)

pico_sdk_init()

add_executable(${PROJECT_NAME} main.c)

pico_add_extra_outputs(${PROJECT_NAME})

target_link_libraries(${PROJECT_NAME} pico_stdlib)
Build project
Inside project directory create a build directory and navigate to it:
mkdir build && cd buildPrepare CMake build directory:
cmake -G "NMake Makefiles" ..cmake ..Build project:
nmakemake -j$(nproc)Testing
Enter the USB mass storage mode and copy the compiled binary myapp.uf2 to the mounted drive RPI-RP2. It will automatically unmount, and the onboard LED on Raspberry Pi Pico should start blinking.

The 2 Comments Found
I have tried so many times to setup the SDK and your blog has the ONLY instructions for Ubuntu that have worked for me! Thank you very much for all of your time and attention to detail!
thanx a lot !!!
it works !!!
Leave a Comment
Cancel reply